|
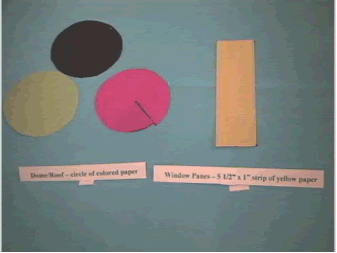
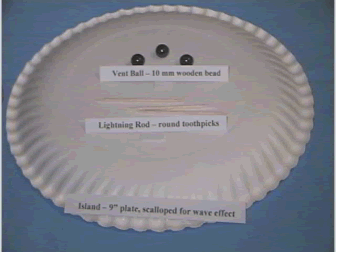
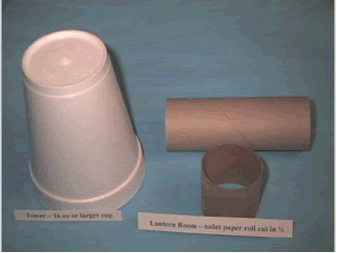 Materials needed: An island (9” or larger paper plate, scalloped for wave effect, turned upside down), tower (16 oz or larger Styrofoam or paper cup), lantern room (toilet paper roll), dome and window for lantern room (construction paper), and vent ball and lightning rod (optional – 10 mm wood bead and round toothpick). Materials needed: An island (9” or larger paper plate, scalloped for wave effect, turned upside down), tower (16 oz or larger Styrofoam or paper cup), lantern room (toilet paper roll), dome and window for lantern room (construction paper), and vent ball and lightning rod (optional – 10 mm wood bead and round toothpick).
Construction “tools”: White glue, ruler, scissors, razor blade or box cutter [Recommended to be used by construction foreman only], invisible tape, permanent marker, and coloring material such as crayons, colored markers, acrylic paint.
  |
|
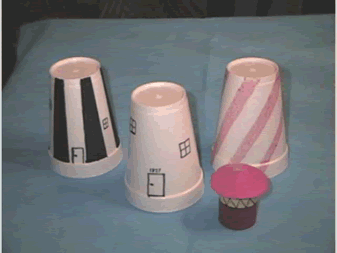
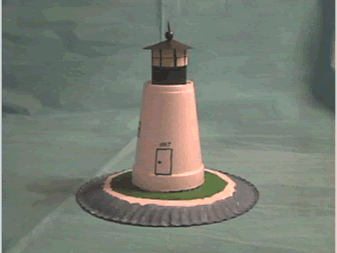
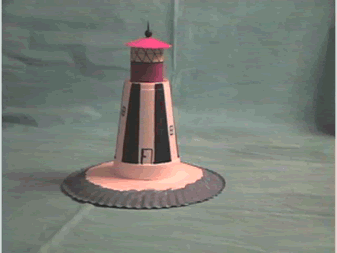
Assembly: You can start by coloring your island with waves breaking over the shore and rocks and trees around the island. If a number of children are making the lighthouse and you want to identify the builders, put their name on the other side and set it aside. Using the bottom of your “tower”, draw a circle on a piece of construction paper for the Dome [Note: you should use the same color paper you plan to color your lantern room]; cut the circle out and set it aside. Now you decorate the tower. Using the permanent marker (fine point works best) draw the door and windows. At this time you can color your tower with stripes or other patterns to display your daymark (see examples below). Glue your tower to the island and set it aside. [Note: If you are making a large number of lighthouses for a group of children, it is recommended that you pour some white glue into a small plastic container that the bottom of the tower fits; dip tower lightly into the glue and place it on the island.] Next prepare the lantern room. Cut 2” piece of paper roll and cut a 5 ˝” x 1” piece of yellow construction paper to make your storm window. Using the permanent marker, make a border along the long edges and, if you choose, down the center of the strip. Tape one end of the strip at the top of the lantern room, wrap it around, and tape the other end. Draw in the astragals (metal frame running vertically or diagonally that divides the lantern room glass into sections) with the permanent marker. Color your lantern room below the window strip. Using the circle cut earlier for the dome cut a slit to the center and slide one edge over the other to form a peaked cap; tape it together. Glue the lantern room to the top of the tower and the dome on top. [Note: If making a large number, use the white glue in a plastic container, and dip both ends of the lantern room, place on tower, and attach dome.] Now take the vent ball and carefully put some glue into the hole [Fast drying glue works best], about ˝ full, set it on the peak of the dome, and stick the lightning rod (a 1” piece of toothpick, sharp end up) into the glue in the ball. |


 Materials needed: An island (9” or larger paper plate, scalloped for wave effect, turned upside down), tower (16 oz or larger Styrofoam or paper cup), lantern room (toilet paper roll), dome and window for lantern room (construction paper), and vent ball and lightning rod (optional – 10 mm wood bead and round toothpick).

